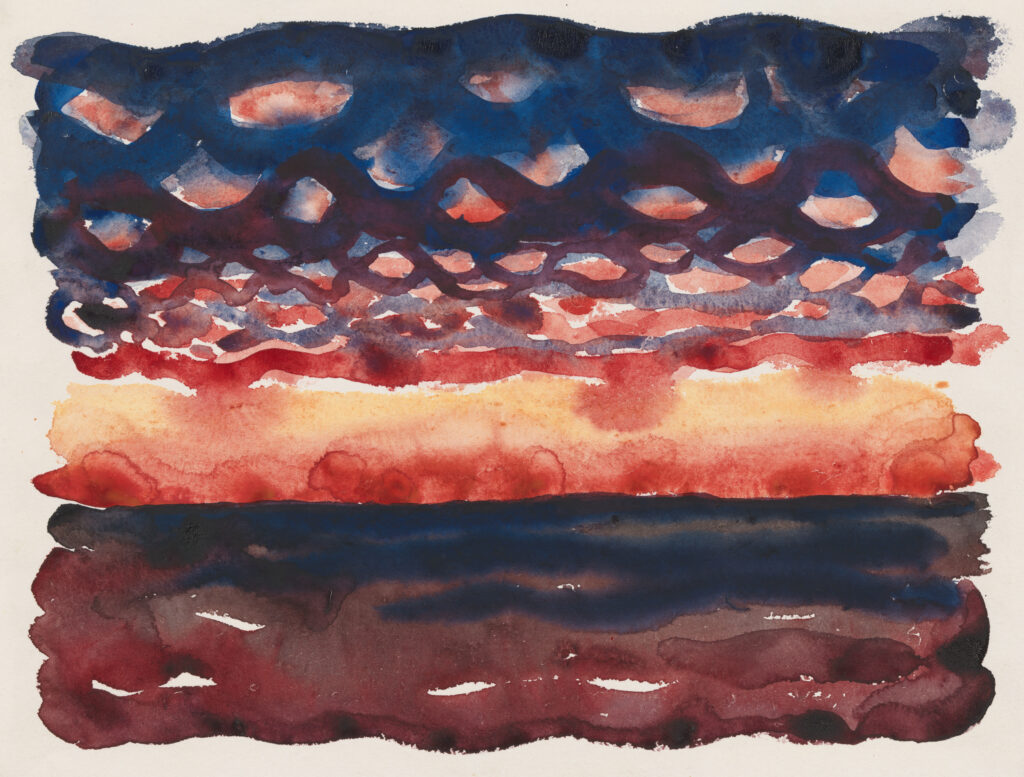
Learning Activity: Exploring Watercolor with Different Techniques
Grade level: 6–8
This activity aims to explore the effects of different techniques with watercolor paint.
Materials: Watercolor paint, paper, paint brush, cup for water, paper towel, salt, plastic wrap
Directions: First use a sheet of paper to explore and experiment with the different techniques.
Watercolor techniques:
Wet on wet:
- Start by wetting your brush with plain water and applying water to an area of your paper with your paint brush.
- Moisten the paint in your paint palette and add the color to the wet area of your paper.
- When painting wet-on-wet, we don’t have much control over how our paint reacts. The more water that was applied to the paper before the paint is added, the more the paint will spread on the paper and it will also be more translucent.
Wet on dry:
- Moisten the paint in your paint palette and add the color to a dry area of your paper.
- When painting wet-on-dry, you have much more control over where your paint goes and the paint is more opaque.
Salt
- After applying watercolor to the paper and while it is still wet, sprinkle a tiny amount of salt over the watercolor. It will create splotches within the paint.
- Let the paint dry, and then rub off the salt.
Plastic Wrap
- Plastic wrap creates texture when put over wet watercolor on paper. Lay the plastic wrap over wet paint.
- Allow the paint to dry completely then remove the plastic wrap.
After experimenting with the different techniques use them to create your own image. Choose an image from magazines or books to recreate. You are also welcome to use your imagination! Use the different techniques to create texture and form.